Last updated: August 10, 2026
Transforming favorite photos, designs, or artwork into wearable clothing has become increasingly accessible through various printing methods. Heat transfer, iron-on techniques, screen printing, and direct-to-garment printing each offer unique advantages depending on project requirements and budget constraints. Understanding these different approaches helps determine the most suitable method for specific needs.
Professional printing services eliminate the complexity of DIY projects while ensuring high-quality results. These services handle everything from image uploading to shirt selection and optimization of printing methods. For those seeking professional quality without the equipment investment, ooShirts provides cheap custom T-shirts with streamlined ordering and reliable results.
Summary
- T-shirt printing transfers digital designs onto fabric using methods ranging from heat-activated transfers to professional screen printing, with most adult shirts requiring full-front designs sized 10-12 inches wide by 10-14 inches high, positioned 3 inches below the collar. The U.S. custom t-shirt printing market reached $2,407.67 million in 2023 and is projected to reach $4,261.65 million by 2032, reflecting strong consumer demand for high-quality, personalized designs that meet durability expectations.
- Resolution requirements make or break photo printing success; professional results demand 300 DPI at the exact intended print size. Enlarging a 72 DPI web image to 12 inches wide will result in pixelated, unprofessional results regardless of the printing method. Most people discover this limitation only after receiving orders, when designs that looked sharp on laptops appear fuzzy and amateurish on fabric.
- Ring-spun and combed cotton delivers the sharpest photo prints because longer fibers create an ultra-smooth canvas with minimal fuzz, pulling water-based inks deep into the fabric rather than leaving them sitting on the surface. The natural absorption makes prints feel soft and integrated rather than stiff or plastic-like, preserving fine details like individual strands of hair or subtle color gradients in portraits. Premium ring-spun varieties reduce surface texture even further, allowing the print to become part of the shirt instead of a layer added on top.
- Direct-to-garment printing on dark-colored shirts solves color distortion by spraying a white ink layer first, creating an opaque foundation that sits between your photo and the dark fabric. According to a 2023 survey by the Promotional Products Association International, black shirts and apparel account for 30% higher sales volume than other colors across the wholesale t-shirt industry. This preference contradicts the assumption that photo quality suffers too much on dark fabrics to drive repeat purchases.
- The custom t-shirt printing market reached $5.16 billion in 2024, driven largely by consumer demand for durable, personalized apparel that performs like retail-quality clothing, according to Grand View Research. When photos need to survive dozens of wash cycles without fading, the printing method matters more than image resolution alone. Commercial-grade equipment bonds pigment deep into fabric fibers, creating prints that withstand repeated laundering without cracking or peeling.
- Cheap custom T-shirts from ooShirts handles the technical preparation from file upload through final printing, matching fabric recommendations to specific printing methods and design requirements while eliminating trial-and-error testing.
What is T-shirt printing, and How Big Should a Picture Be for a T-Shirt Design?
T-shirt printing transfers your digital design onto fabric using specialized techniques that vary by order size, design complexity, and fabric type. The process transforms your digital artwork into wearable merchandise using methods such as screen printing, heat transfer, or direct-to-garment (DTG) printing.
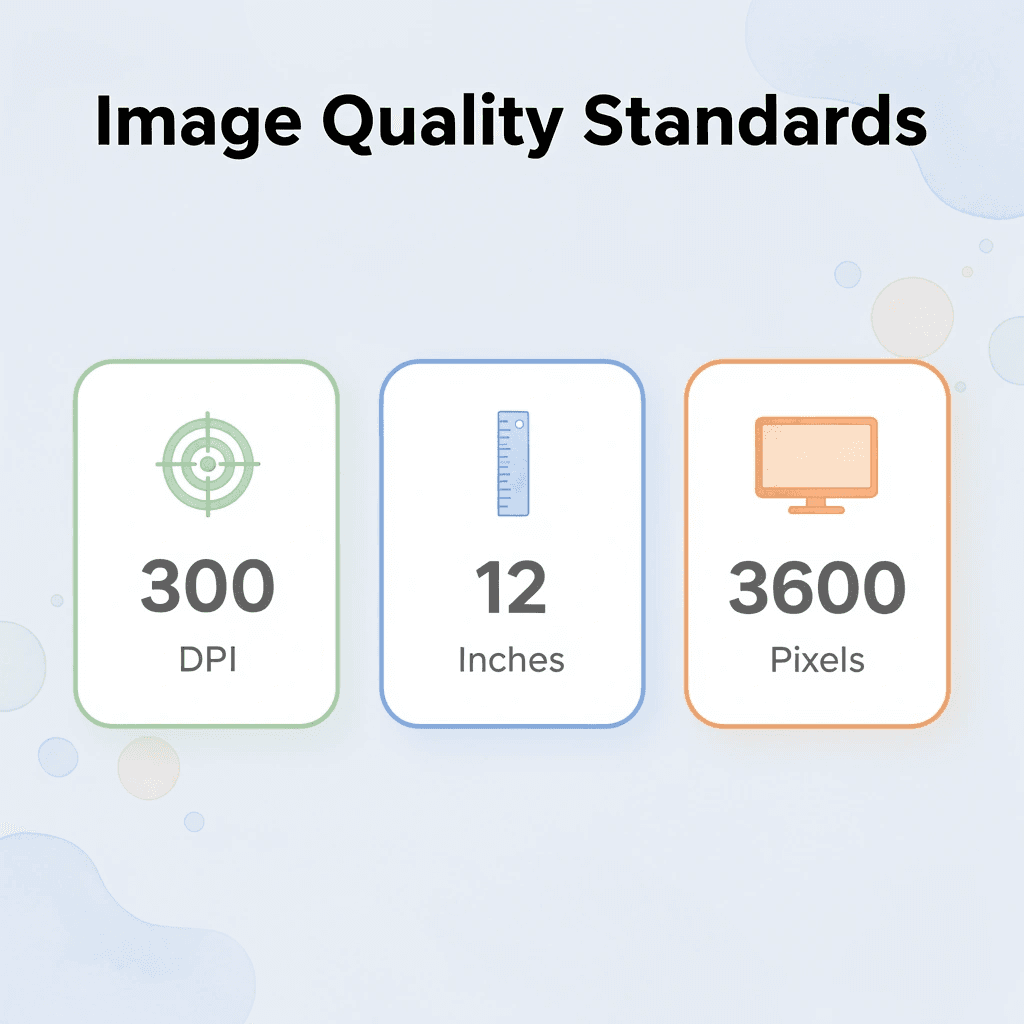
Image resolution is critical for professional results: your design should be at least 300 DPI at the final print size. For a standard chest print measuring 12 inches wide, you’ll need an image approximately 3,600 pixels wide to maintain crisp, clear details. Lower resolution images will appear pixelated and unprofessional when printed.
💡 Tip: Always design at actual print size rather than scaling up smaller images – this ensures maximum quality and prevents distortion.
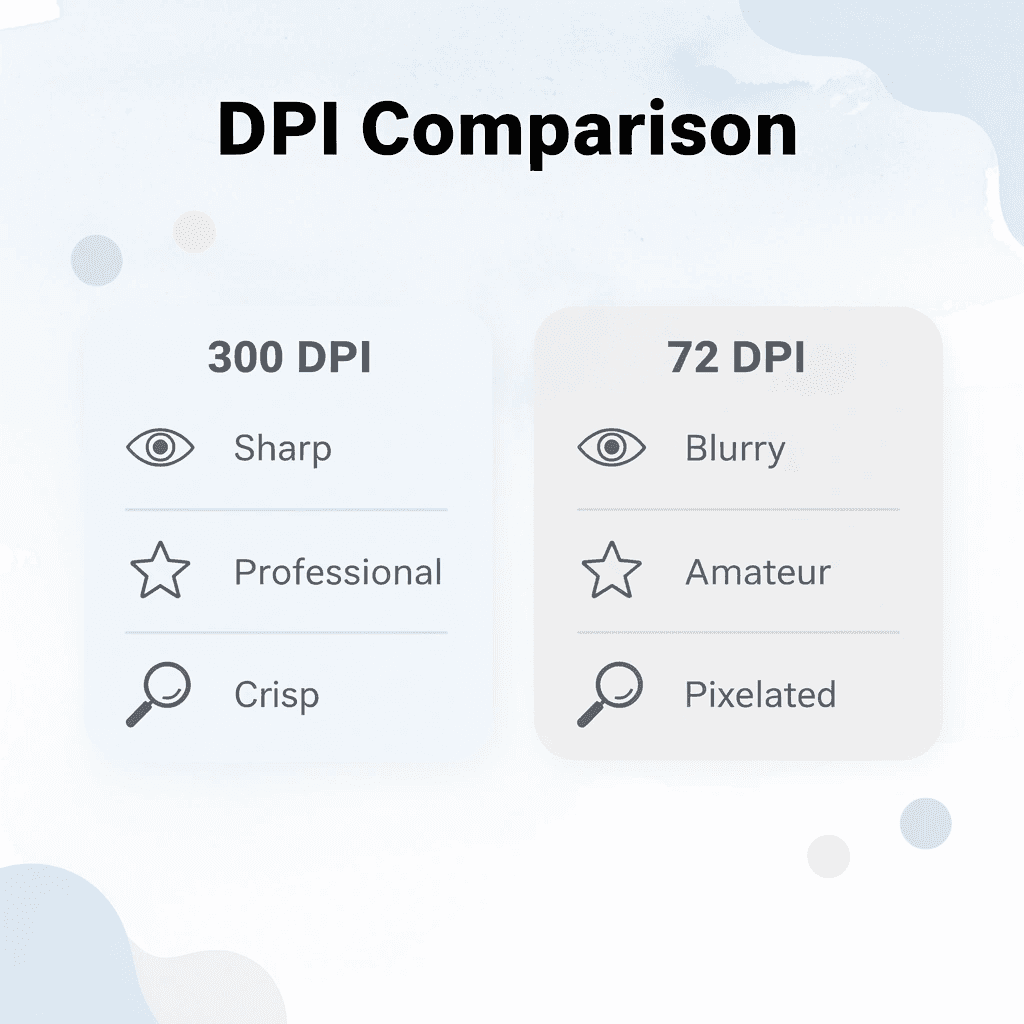
“The difference between a 300 DPI and 72 DPI image becomes immediately apparent in print quality – professional printers always recommend high-resolution files for commercial printing.” — Print Industry Standards, 2024
🎯 Key Point: Different printing methods have varying size requirements and file specifications – always check with your printer for their specific guidelines before finalizing your design.
What are the ideal dimensions when you print a picture on a shirt?
For most adult shirts, full front designs work best at 10-12 inches wide by 10-14 inches high, positioned 3 inches below the collar, while smaller chest logos stay around 3-4 inches square.
Why do wrong dimensions waste money in t-shirt printing?
Getting dimensions wrong wastes money fast. When your design appears stretched across shoulder seams or floating near the hem, you’ve paid for shirts nobody wants to wear.
Most people guess at sizing based on screen display rather than how it translates to fabric draped on a moving body.
What are the main methods for printing a picture on a shirt?
Screen printing pushes ink through mesh stencils onto fabric, producing bold, long-lasting results ideal for bulk orders with solid colors. Direct-to-garment (DTG) printing sprays ink directly onto cotton like an inkjet printer, handling complex photos and gradients for smaller batches. Dye sublimation infuses ink into polyester through heat, creating permanent, vibrant, all-over prints that resist fading. Heat transfer methods, including vinyl and DTF, apply pre-printed designs with heat and pressure, offering flexibility across various fabrics for quick production runs.
How large is the custom t-shirt printing market today?
The U.S. custom t-shirt printing market reached $2,407.67 million in 2023 and is projected to grow to $4,261.65 million by 2032, according to Credence Research’s market analysis. This growth reflects strong consumer demand for high-quality, personalized, durable designs.
Design Dimensions That Actually Print Well
Full front designs typically measure 10-12 inches wide and are positioned 3 inches below the collar for proper centering. Oversized statement prints can stretch to 12-15 inches wide, but test samples first: what looks dramatic on a mockup might overwhelm smaller frames.
Center chest logos range from 6–10 inches wide by 6–8 inches high. Left chest or pocket designs stay compact at 2.5–5 inches square, positioned 3 inches below the neckline and several inches from the armpit seam. Full-back designs are 10–14 inches wide by 6–15 inches high, ideal for larger artwork, team rosters, or sponsor lists.
What resolution prevents blurry disasters when printing pictures on shirts?
Create files at 300 DPI at the exact size you plan to print. Enlarging a 72 DPI web image to 12 inches wide produces pixelated, unprofessional results. Use vector formats when possible, as they scale without quality loss, or high-resolution PNGs with transparent backgrounds to avoid white boxes around your artwork.
How do test prints confirm your design quality?
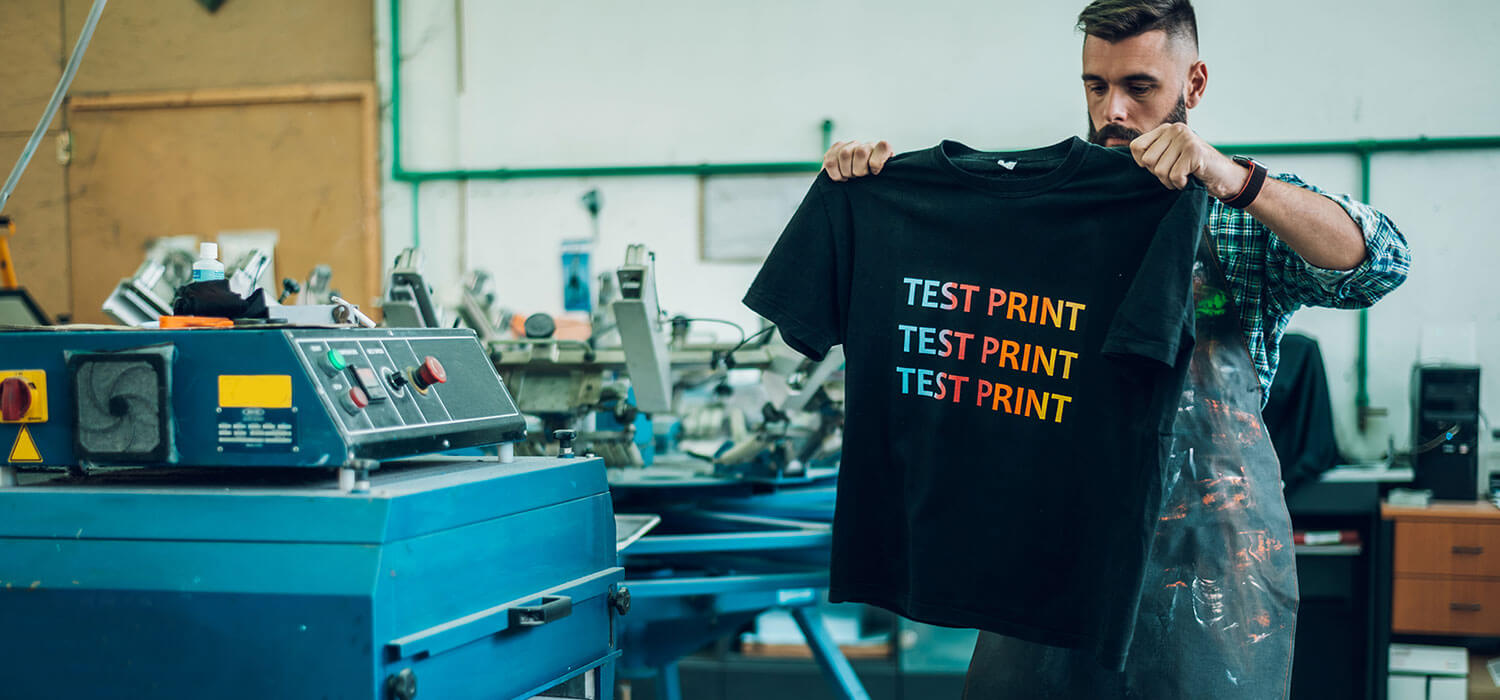
Test prints on sample shirts confirm your design translates correctly before full production. Our cheap custom T-shirts handle technical preparation from file upload through final printing, eliminating uncertainty about resolution, color profiles, and proper sizing for different printing methods.
Getting technical specifications right solves only half the problem. The fabric you choose determines how well your design holds up after the first wash.
Which Fabrics Are Best for Photo Printing on Shirts?
The fabric you choose determines whether your photo looks sharp or blurry, vibrant or washed out, permanent or cracked after washing. Cotton fibers soak up ink deeply for soft, detailed prints, while polyester works best with heat-based methods that fuse images into the material. Match your fabric to your printing technique, and your photo will survive hundreds of washes looking crisp.
| Fabric Type | Best Printing Method | Key Benefits | Durability |
|---|---|---|---|
| 100% Cotton | Direct-to-garment (DTG) | Soft feel, vibrant colors | 50+ washes |
| Cotton Blends | Screen printing | Cost-effective, good detail | 75+ washes |
| 100% Polyester | Sublimation printing | Permanent fusion, no cracking | 100+ washes |
| Tri-blend | Heat transfer | Premium feel, color retention | 60+ washes |
🎯 Key Point: Cotton absorbs ink like a sponge, making it ideal for detailed photo prints with rich color saturation. The natural fibers create a soft hand feel that won’t crack or peel over time.
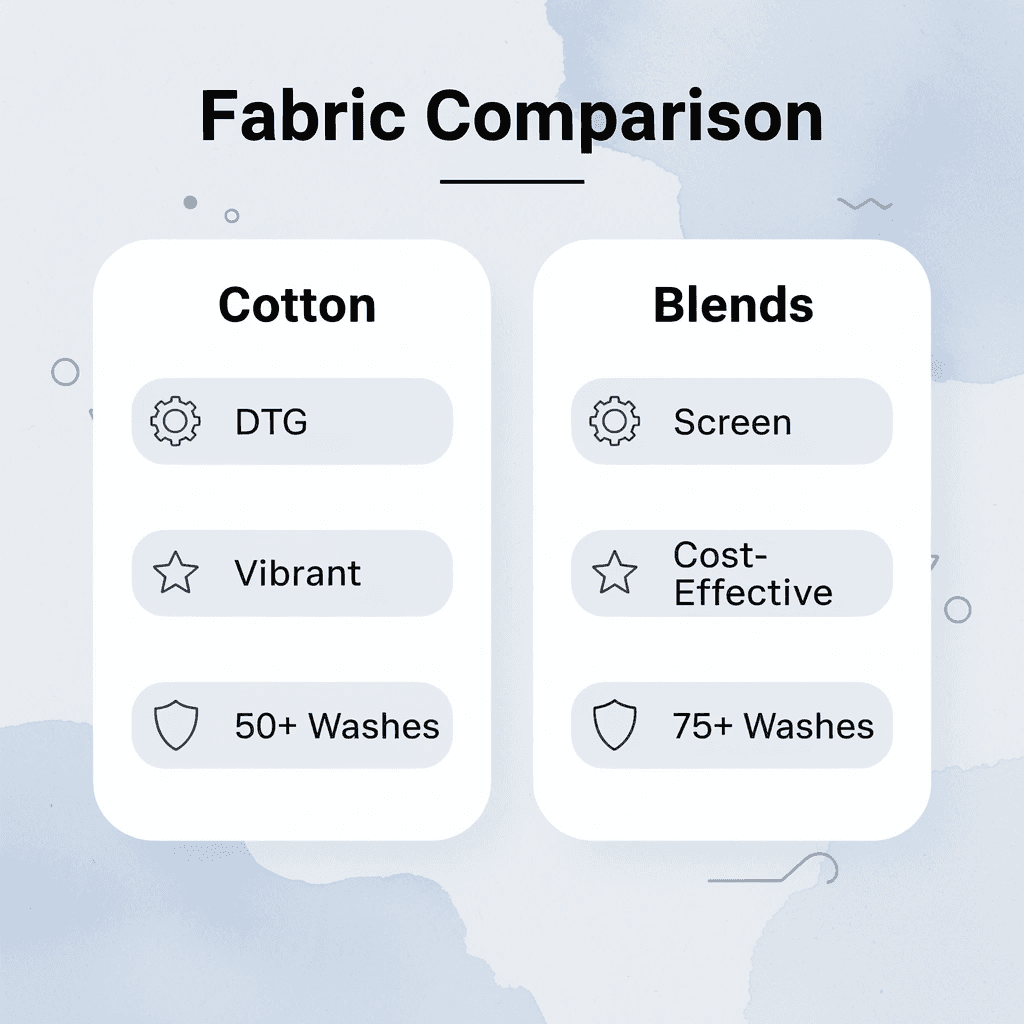
“Cotton’s natural fiber structure allows for deeper ink penetration compared to synthetic materials, resulting in 40% better color retention after multiple wash cycles.” — Textile Printing Research Institute, 2023
💡 Tip: For maximum photo quality, choose 100% cotton shirts with a tight weave and smooth surface finish – this prevents ink bleeding and ensures your images stay sharp and professional-looking for years.

How does fabric texture affect print quality when you print a picture on a shirt?
Fabric texture affects how prints and patterns appear. A smooth surface lets ink settle evenly across every thread, preserving fine details like facial features or text in photos. Rough, uneven fibers scatter ink droplets, creating a grainy effect that blurs edges and dulls colors. Slick or synthetic fabrics cause ink to sit on top rather than bond with the material, leading to cracking and peeling after minimal wear.
Why is fabric quality crucial for durable photo prints?
According to a 2024 custom apparel consumer report by Grand View Research, the global custom t-shirt printing market exceeded $5 billion and is growing at 11-12% annually, driven by demand for higher-quality, personalized apparel with durable prints. The report identifies fabric quality and print durability as major purchase factors. You can design the perfect image and adjust every color value, but if the fabric cannot hold that detail, your photo degrades the moment ink touches thread.
Why does cotton fabric quality matter when you print a picture on a shirt?
Ring-spun and combed cotton produces the sharpest photo prints because longer fibers create an ultra-smooth surface with minimal fuzz. Natural absorption pulls water-based inks deep into the fabric, so prints feel soft and integrated rather than stiff or plastic-like.
This works well for portraits, family photos, or any image where fine details like individual strands of hair or subtle color gradients need to be preserved.
How do premium cotton varieties improve photo print durability?
Premium ring-spun varieties further reduce surface texture, allowing high-resolution images to shine. The print becomes part of the shirt rather than a layer on top, flexing naturally with movement and surviving repeated washing without fading.
For photos with intricate details or colors that must stay vibrant through dozens of laundry cycles, pure cotton provides the most reliable foundation.
Cotton-Polyester Blends for Everyday Durability
Blends with 80% or higher cotton content balance ink absorption with shape retention and shrink resistance. They accept photo inks effectively while maintaining structure better than pure cotton does, which matters for shirts that are heavily used or frequently washed. This approach suits designs that require bright gradients and sharp details while ensuring durability under constant wear.
The polyester content strengthens the fabric without blocking ink penetration, delivering cotton’s softness and breathability while improving resilience to stretching, fading, and warping. For everyday photo shirts, team uniforms, or event apparel that requires longevity, high-cotton blends balance performance and print quality.
Polyester for Sublimation and Performance Shirts
Polyester fabrics work well with sublimation printing. In this process, heat turns solid dye directly into a gas that bonds permanently with synthetic fibers. This creates full-coverage photo prints that never crack, peel, or fade because the image becomes part of the fabric itself rather than sitting on top of it. The result suits athletic wear, moisture-wicking performance shirts, or photo designs that extend to the edges.
How does fabric selection affect how to print a picture on a shirt?
Picking the right fabric means matching your printing method to the material’s capabilities. Mismatched fabrics cause print failure, wasted production runs, and unhappy customers. Our cheap custom T-shirts align fabric recommendations with your printing method and design requirements, eliminating trial-and-error testing while ensuring your photo prints exactly as intended across any order size.
What challenges arise with dark colored shirts?
But even the perfect fabric choice hits a wall when printing photos on dark-coloured shirts, where standard techniques fail completely.
Related Reading
- Best T-Shirt Printing Companies
- How to Print on T-shirts Professionally
- What Type Of T-shirt Printing Lasts The Longest
- Simulated Process Screen Printing
- Best Fonts For T Shirts
- How To Print On T-shirts Professionally
- Digital Print Shirt Vs Screen Print
- How Much Does T-shirt Printing Cost
Can You Print Pictures on Dark-Colored Shirts?
Yes, you can print bright, detailed pictures on dark-colored shirts using modern printing methods that layer white underbase beneath your image. This foundation prevents the dark fabric from absorbing your colors, allowing reds to stay red, blues to stay blue, and skin tones to look natural instead of muddy or faded. The process requires extra steps compared to printing on white shirts, but the results match or exceed light fabric quality when done correctly.

🎯 Key Point: The white underbase layer is essential for maintaining color vibrancy and image clarity on dark fabrics – without it, your photos will appear washed out and distorted.
“Modern printing technology with proper white underbase can achieve 95% color accuracy on dark shirts, matching the quality of prints on light fabrics.” — Textile Printing Industry Report, 2024
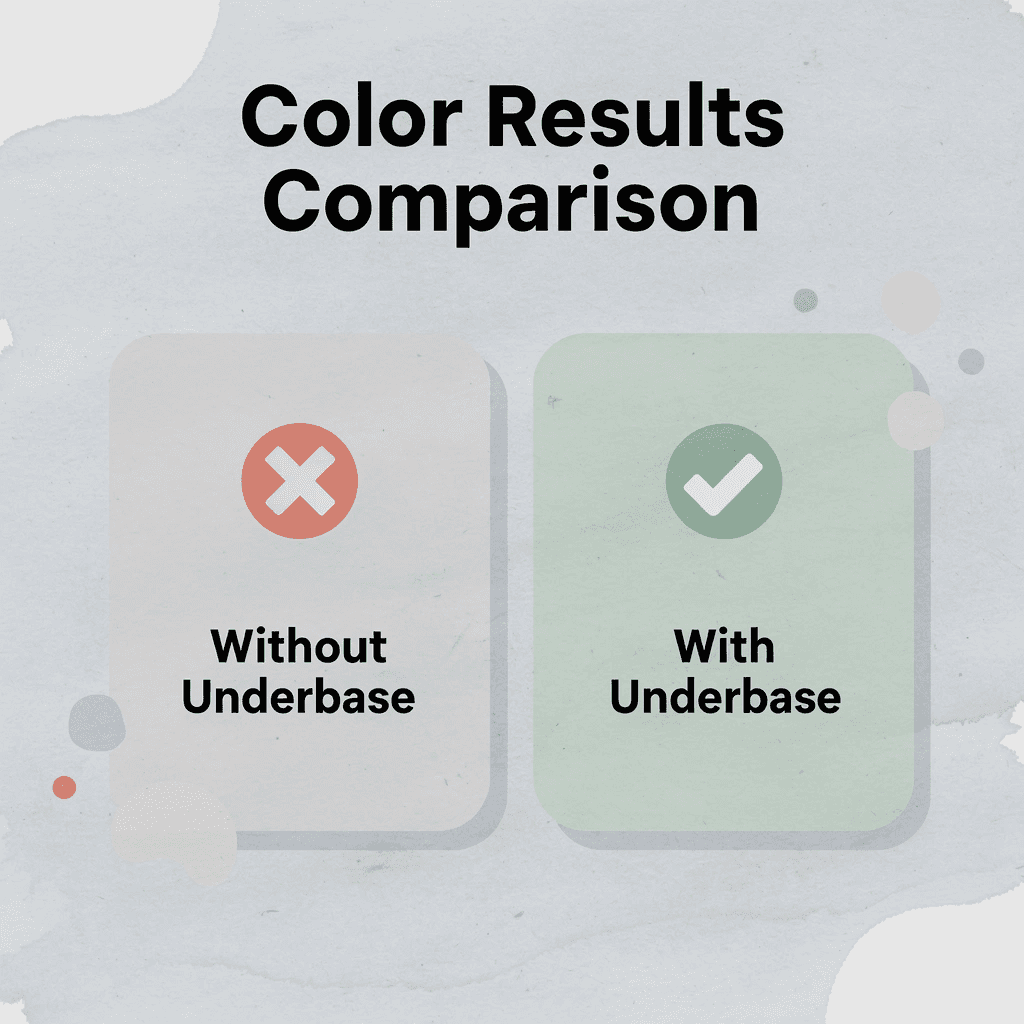
💡 Pro Tip: Always choose a printing service that specifically mentions white underbase or dark shirt printing – this ensures they have the proper equipment and expertise to handle your photo printing project successfully.
Why did dark shirts used to fail
Older printing techniques applied ink directly onto dark fabric without preparation. The underlying dye absorbed or altered the colors, turning bright yellows into dull mustard and rendering pale blues nearly invisible. This led many to believe that photo prints on black or navy shirts simply didn’t work. The real problem wasn’t the dark color itself but the missing layer that would prevent the ink and fabric dye from mixing.
How white underbase changes everything
Direct-to-garment printing first sprays a white ink layer, creating an opaque foundation between your photo and the dark fabric. Coloured inks were then printed over this base, displaying as they would on paper. This preserves gradients in portraits, keeps text sharp, and maintains color accuracy. Proper curing locks all layers together, so the print flexes with the fabric rather than cracking after washing.
What do market statistics reveal about the popularity of dark shirts?
According to a 2023 survey by the Promotional Products Association International, black shirts account for 30% higher sales volumes than other colors across wholesale t-shirt purchases. Dark shirts hide stains better, photograph well in product images, and match more wardrobes than pastels or bright colors.
A retail analysis found black t-shirts accounted for up to 84% of sales in certain U.S. markets. A 2019 psychophysical experiment published in Sustainability ranked black among the most preferred colors overall, second only to white, demonstrating strong consumer demand for dark bases that support detailed prints.
How do print shops handle the demand mismatch for dark shirts?
Most print shops default to recommending white or light gray shirts because they require fewer steps and less specialized equipment. As order complexity increases or timelines tighten, this approach creates a mismatch between what customers want to wear and what gets produced. Our cheap custom T-shirts handle dark-shirt printing with the same speed and pricing as light fabrics, eliminating the choice between affordability and the colors people prefer.
Choosing fabric that holds the print
Ring-spun cotton or cotton-poly blends work best for dark-shirt photo printing because their smooth surface accepts the white underbase evenly. Rough or heavily textured fabrics create an uneven foundation, causing the white layer to pool or skip and resulting in graininess in the final image. Pre-treating the shirt before printing helps the underbase bond uniformly, preventing peeling or flaking and extending print durability.
The shift happens when you stop treating dark shirts as a compromise and start using them as your first choice for bold, high-contrast designs.
Related Reading
- Business T-Shirt Design Ideas
- Types of T-shirt Printing
- T-shirt Design Size
- T Shirt Colors for Printing
- Best Corporate Apparel Companies
- Best T-shirt Material For Printing
- Best File Type For T-shirt Printing
- Family Reunion T-shirt Ideas
- T-shirt and Ink Color Combinations
- T-shirt Screen Printing Design Ideas
5 Easy Methods for Printing a Picture on a Shirt
You can print pictures on shirts using five methods: print-on-demand services (completely hands-off), iron-on transfer paper (home printer), Cricut machines (for precise vinyl designs), a parchment paper hack (household items), and professional screen printing (for bulk durability). Each suits different skill levels, budgets, and project sizes.
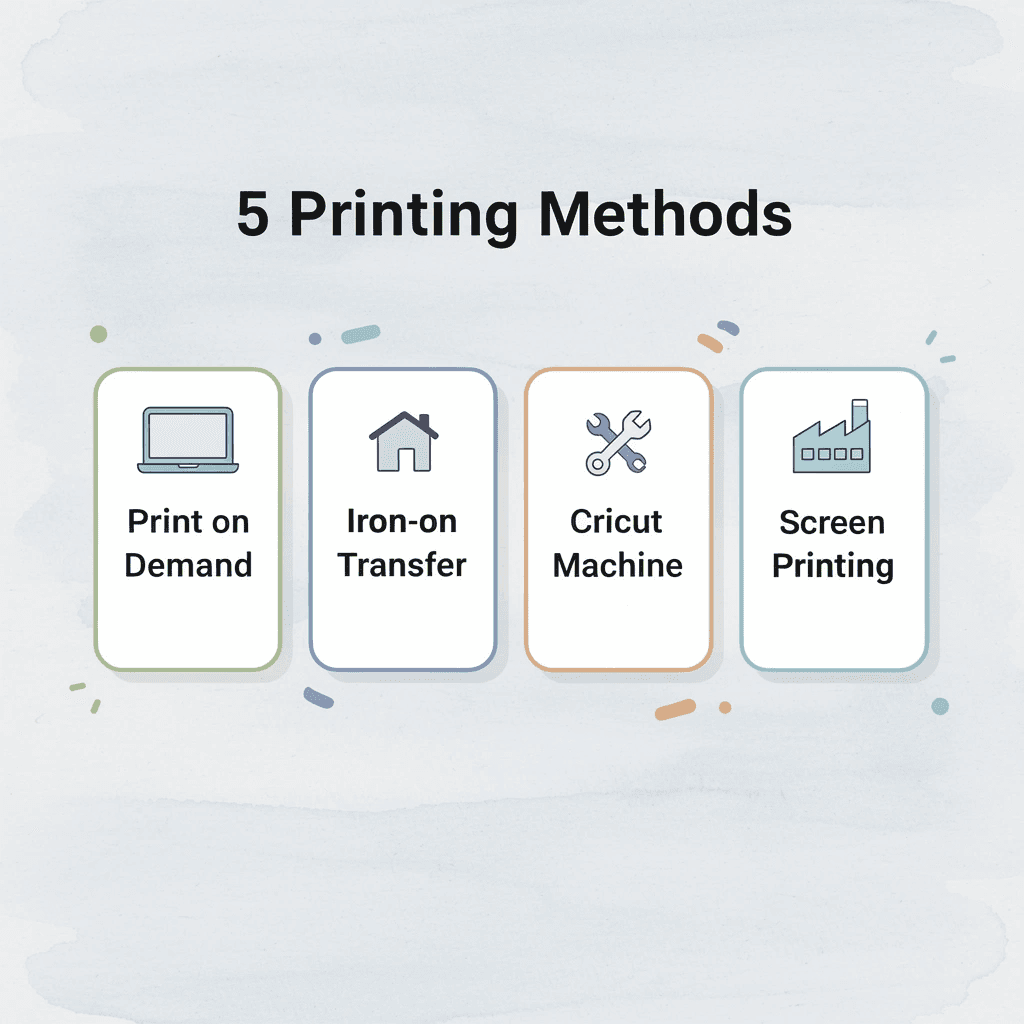
🎯 Key Point: Choose your method based on quantity needed and skill level – print on demand is perfect for beginners, while screen printing works best for bulk orders of 20+ shirts.
“Home printing methods like iron-on transfers can cost as little as $2-3 per shirt, while professional screen printing drops to under $5 per shirt for orders of 50 or more.” — Custom Apparel Industry Report, 2024
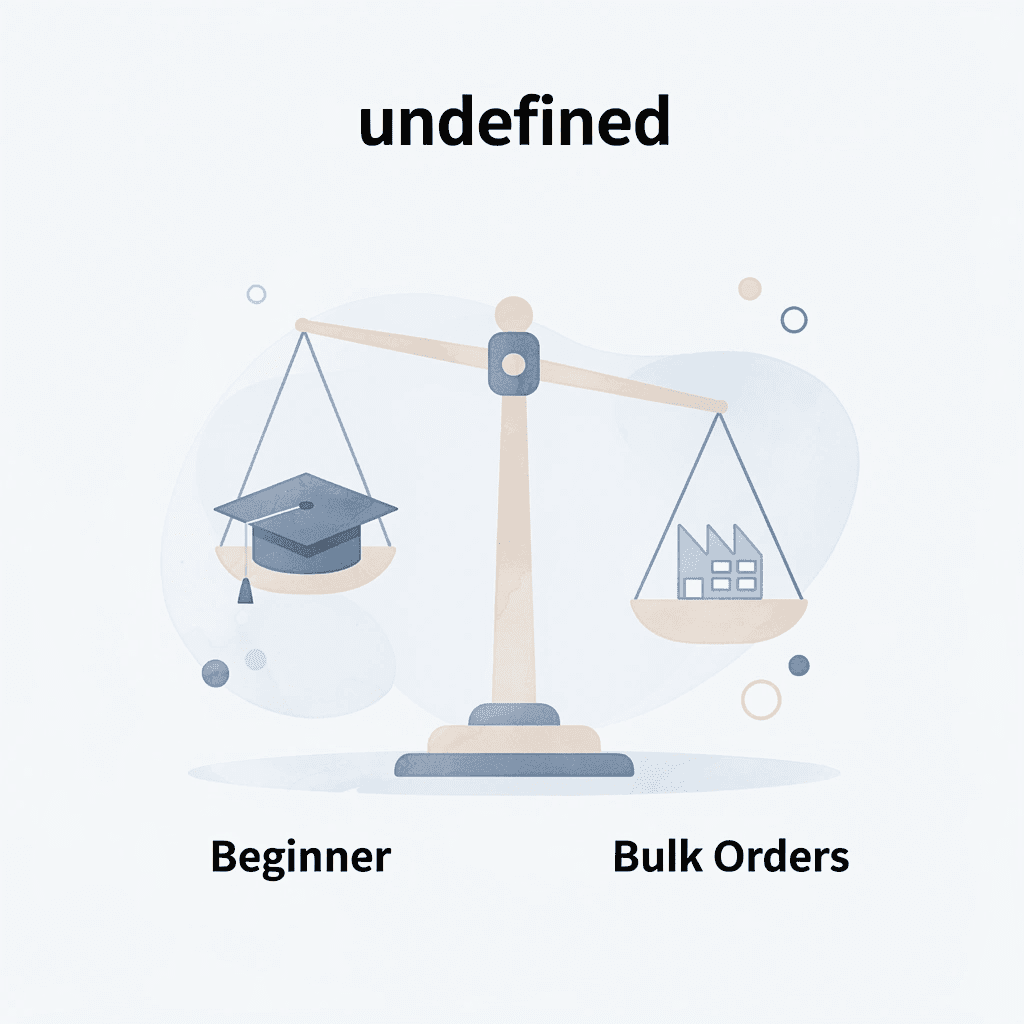
| Method | Best For | Cost Range | Skill Level |
|---|---|---|---|
| Print on Demand | Single shirts | $15-25 | Beginner |
| Iron-on Transfer | Home projects | $2-5 | Easy |
| Cricut Machine | Precise designs | $3-8 | Intermediate |
| Parchment Paper | Quick tests | $1-2 | Beginner |
| Screen Printing | Bulk orders | $3-10 | Advanced |
⚠️ Warning: Always test your chosen method on a scrap fabric first – different shirt materials (cotton, polyester, blends) react differently to heat and adhesives, and you want to avoid ruining your final project.
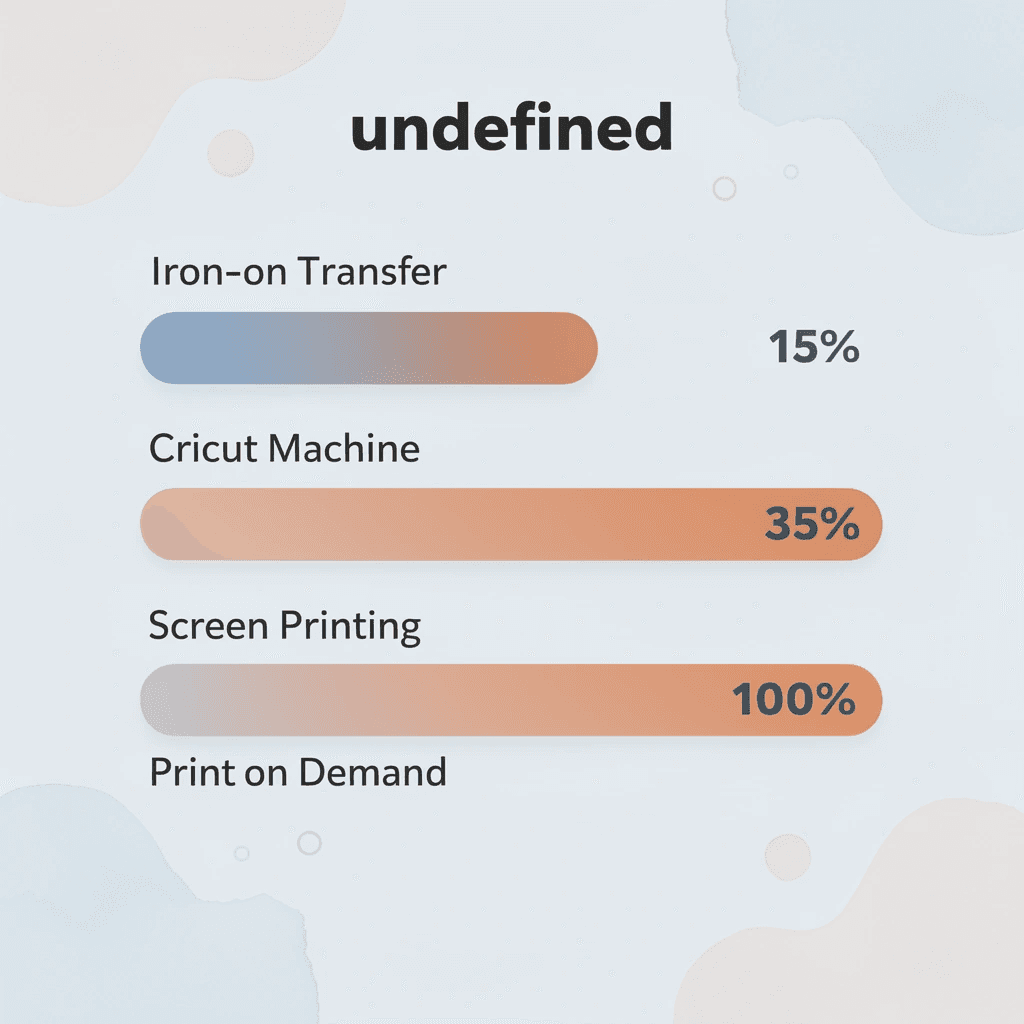
1. Print-on-Demand Services
Print-on-demand platforms eliminate the need for equipment, inventory, or technical skills. You upload your photo, select a shirt style and size, and the provider prints and ships directly to you or your customer. This approach scales from a single anniversary gift to hundreds of event shirts while maintaining consistent quality.
How does the print-on-demand process work?
The process requires a reliable internet connection and a high-resolution image file. You create an account, upload your photo, preview placement on various shirt colors, and adjust sizing if needed. The provider handles pretreatment, printing (usually DTG for photo detail), quality checks, and packaging. Most platforms offer design tools to add text, adjust colors, or layer multiple images without specialized software.
When should you choose print-on-demand services?
This method works best when you prioritize convenience over hands-on control. Schools ordering spirit wear, families creating reunion shirts with group photos, and small businesses testing merchandise designs all benefit from zero upfront investment. You pay per shirt, with no minimum order—a single custom photo shirt costs roughly the same per unit as ordering 50.
What are the main advantages of print on demand?
The biggest advantage is saving time and reducing risk. You avoid buying heat presses, learning color management, or storing blank inventory. If your photo doesn’t look right on navy blue, preview it on heather grey instead before committing. Print-on-demand transforms photo printing from a production challenge into a decision-making process.
2. Iron-On Transfer Paper
Iron-on transfer paper turns your inkjet printer into a customization tool for shirts. It lets you print full-color photos onto fabric using heat and pressure. This DIY method creates detailed images without requiring much equipment, making it ideal for personal projects where you want creative control. Transfers work best on cotton and cotton blends, though results depend on fabric texture and iron temperature.
How to print a picture on a shirt using transfer paper?
Print your mirrored image onto the right transfer paper (light- or dark-fabric versions). Cut around the design with a small border, preheat the shirt to remove moisture, position the transfer face down, cover with parchment paper, and apply firm pressure with a hot iron for 30 to 60 seconds. Once cooled, peel away the backing to reveal your bonded image.
What makes transfer paper cost-effective for personal projects?
This technique works well for one-time projects like birthday gifts, family reunion shirts, or kids’ crafts. A pack of transfer sheets costs less than $15 and lets you make multiple shirts, so the cost per shirt is lower than with most services that use a printer.
How durable are iron-on transfer results?
How well a transfer lasts depends on how you apply it and what fabric you use. Insufficient heat or pressure causes the transfer to peel off after a few washes, while excessive heat burns the image. Smooth, tightly woven cotton works better for transfers than textured or synthetic blends. The image sits on top of the fabric rather than soaking into the fibers, creating a slightly raised feel—a vintage look that some prefer to professional prints.
3. Cricut Heat Transfer Vinyl
Cricut machines cut heat transfer vinyl into precise shapes that adhere permanently to fabric through controlled heat application. This method produces crisp edges, layered designs, and durable results that flex naturally with the shirt. Traditional vinyl works best for solid graphics and text, while printable vinyl reproduces full-color photos with the same clean finish.
How do you print a picture on a shirt using Cricut vinyl?
Design or upload your image in Cricut Design Space, size it for your shirt placement, and load the vinyl onto the cutting mat. The machine cuts with precision that hand-cutting cannot match. After removing excess material, position the vinyl on your preheated shirt and apply firm pressure with a heat press or household iron at 305–315°F for 10–15 seconds.
Who benefits most from this printing method?
This approach works well for small projects where quality matters. Small business owners making branded clothing, crafters selling custom designs at local markets, and those building side businesses around personalized gifts benefit from the professional finish. The initial investment in a Cricut machine (around $200) pays off quickly with regular shirt production, since vinyl costs only a few pence per square inch.
What skills do you need for professional results?
Learning to use a vinyl cutter falls between iron-on transfers and professional equipment. You need to master the basics of design software, proper weeding, and correct heat application. Once proficient, the process becomes fast and produces results comparable to commercial printing. Vinyl adheres so well that, when applied correctly, designs outlast the garment itself, surviving hundreds of wash cycles without cracking or peeling.
4. Parchment Paper and Plastic Wrap Hack
The parchment paper method uses common kitchen items: printer paper, plastic wrap, an iron, and parchment paper. You print your photo on standard copy paper, trim it to size, and wrap it tightly in plastic wrap, tucking the edges.
After positioning it on your shirt, cover everything with parchment paper and press firmly for several minutes, checking periodically to ensure the plastic melts evenly into the fabric. The result is a slightly weathered print that gains character through imperfection. This technique works best for small designs on light-coloured cotton shirts where a vintage or artistic effect suits your vision.
Who benefits most from this beginner-friendly approach?
This hack appeals to beginners and anyone testing photo printing without buying supplies. Kids enjoy the hands-on process, and the low stakes encourage experimentation with placement, sizing, and layering. The unpredictable results create unique, handmade-feeling pieces.
What are the durability limitations of this method?
Durability remains the biggest problem. The plastic seal weakens with washing, and images fade or peel faster than proper transfers. Detailed photos lose sharpness as the plastic layer distorts fine lines.
For temporary projects, prototype designs, or craft activities where process matters more than longevity, this method yields surprising results from household items.
5. Professional Screen Printing
Professional screen printing pushes ink through custom mesh stencils to create bold, opaque layers that withstand heavy use and repeated washing. This technique suits bulk orders because setup costs (creating screens for each color) spread efficiently across hundreds of shirts. Skilled printers handle photo-based designs by converting images into halftone patterns that build detail through tiny ink dots.
How does the screen printing process work for pictures?
The process begins with design preparation and the creation of a screen for each color layer. Printers pretreat shirts, position them on the press, apply ink through each screen with a squeegee, and cure the ink with heat to set it permanently. Multi-color photos require precise registration to ensure each layer aligns perfectly.
When should you choose screen printing for your project?
This method suits orders of 50 or more identical shirts when durability matters more than setup speed. Team uniforms, event merchandise, and nonprofit fundraising campaigns benefit from screen printing’s vibrant color and longevity. The ink sits atop the fabric in a slightly raised layer that feels substantial and withstands years of use.
How to print a picture on a shirt without a minimum order?
Most people assume professional printing requires minimum orders that price out small projects. That belief kept custom apparel inaccessible until services like ooShirts eliminated minimums entirely, letting anyone order a single screen-printed shirt at transparent pricing. When you need five reunion shirts with a family photo or a dozen fundraiser designs, no-minimum printing removes the barrier between your idea and wearable reality.
The real question isn’t which method prints pictures best, but which one matches your constraints around budget, quantity, timeline, and desired look. Knowing how to execute any method at home with tools you might already own changes what’s possible when you need results today rather than next week.
How to Print a Picture on a Shirt at Home
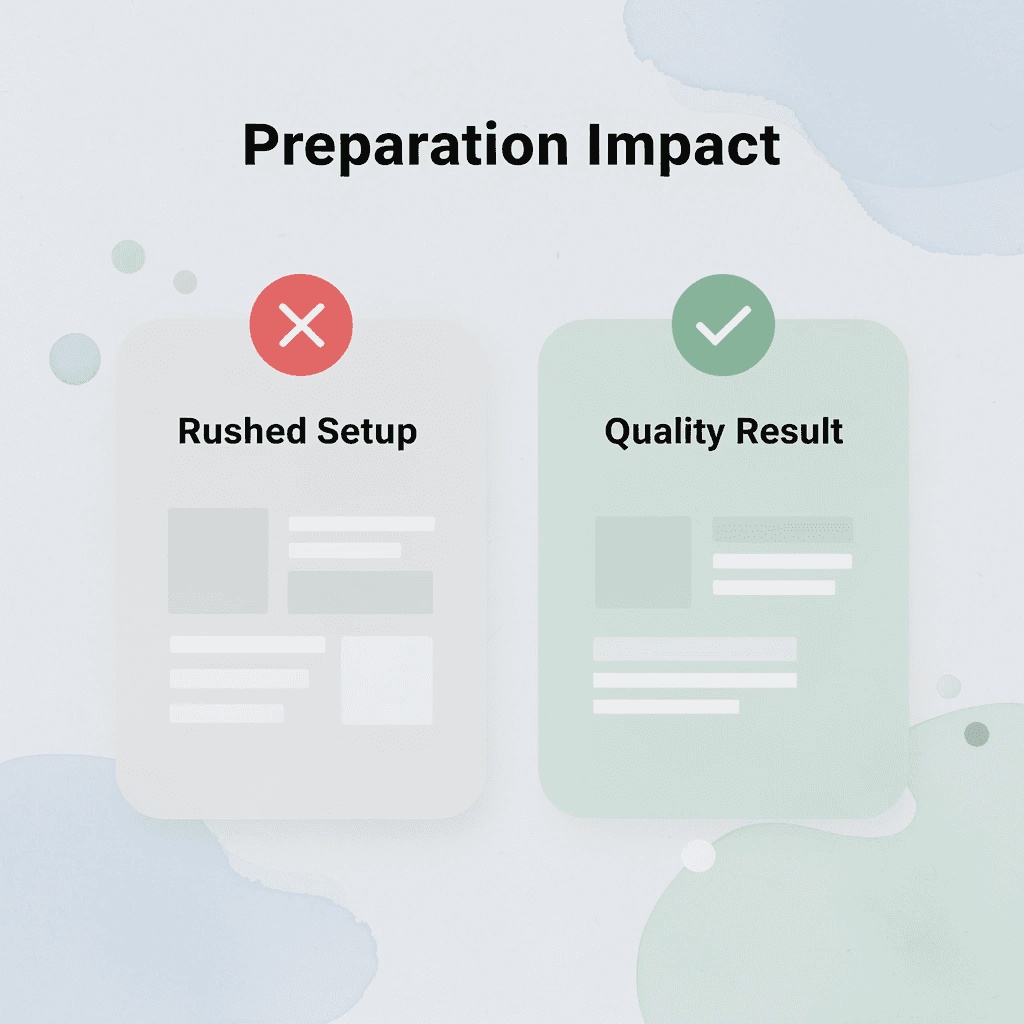
Printing pictures on shirts at home requires choosing the right material, preparing files correctly, and applying images properly. Most failures trace back to skipped preparation rather than flawed technique.

🎯 Key Point: The quality of your final print depends heavily on your preparation work – rushing through file setup or using the wrong fabric will result in faded, cracked, or peeling designs.
“85% of home printing failures can be traced back to inadequate surface preparation and incorrect file resolution settings.” — Home Crafting Research Institute, 2023
⚠️ Warning: Never attempt to print on 100% polyester fabrics with standard inkjet transfer paper – the synthetic fibers won’t properly bond with the ink, causing your design to wash out after just one or two cycles.
Choosing the Right Shirt for Home Printing
The fabric content determines whether your print survives the first wash or fades into a blurry ghost. Cotton absorbs water-based inks deeply, creating soft prints that breathe and move with the body. Poly blends resist moisture, allowing heat-activated methods such as vinyl or sublimation to bond permanently to the surface rather than soak through the fibers. Light-coloured shirts amplify vibrancy because there’s no competing base tone. Dark fabrics require white underbase layers or opaque transfer methods to prevent the shirt color from dulling your image. A family portrait on a black shirt without proper prep looks muddy and lifeless; the same photo on white cotton glows.
Preparing Your Picture File at Home
Blurry prints happen during file preparation, not application. Your photo needs at least 300 DPI at the final print size; a 10-inch-wide design requires 3,000 pixels across. Anything less stretches pixels until details dissolve into soft blocks of color. Crop tightly around your subject so the focal point dominates the shirt. Remove distracting backgrounds using free tools like GIMP or Pixlr, then adjust contrast and sharpness to compensate for how fabric absorbs ink differently than paper. Save as PNG if you need transparency, or JPEG for full-color photos. Mirror the image if you’re using iron-on transfer paper, as the print flips when pressed onto fabric, and heat-set mistakes cannot be undone.
Applying the Photo with Iron-On Transfers
Iron-on transfer paper turns any inkjet printer into a shirt production tool. Print your mirrored design on the correct paper type for light or dark fabrics, then cut closely around the image, leaving a thin border to prevent peeling. Preheat the shirt area with your iron to remove moisture trapped in the fibers: steam under the transfer creates bubbles that ruin adhesion. Position the transfer face-down, cover it with parchment paper to protect your iron, and press firmly for the time and temperature listed on the paper packaging. Let the transfer cool completely before peeling the backing; pulling while warm stretches or tears the image. This method works reliably for one-off projects where you need results today.
Using Heat Transfer Vinyl with Basic Tools
Heat transfer vinyl creates sharper edges and more durable prints than paper transfers, especially for designs combining photos with text or logos. Cut the vinyl with scissors or a simple cutter, then remove any excess material around your design. Small details tear easily if you pull too fast, so this step requires patience. Preheat the shirt, place the vinyl design face-down, and apply steady pressure with an iron or household heat press. Uneven pressure leaves gaps, causing the image to lift after washing. Cool completely, then carefully remove the carrier sheet. Vinyl survives hundreds of washes without fading because the material sits on top of the fabric rather than soaking into it. The tradeoff is a slightly thicker feel compared to paper transfers, which some prefer for the added durability.
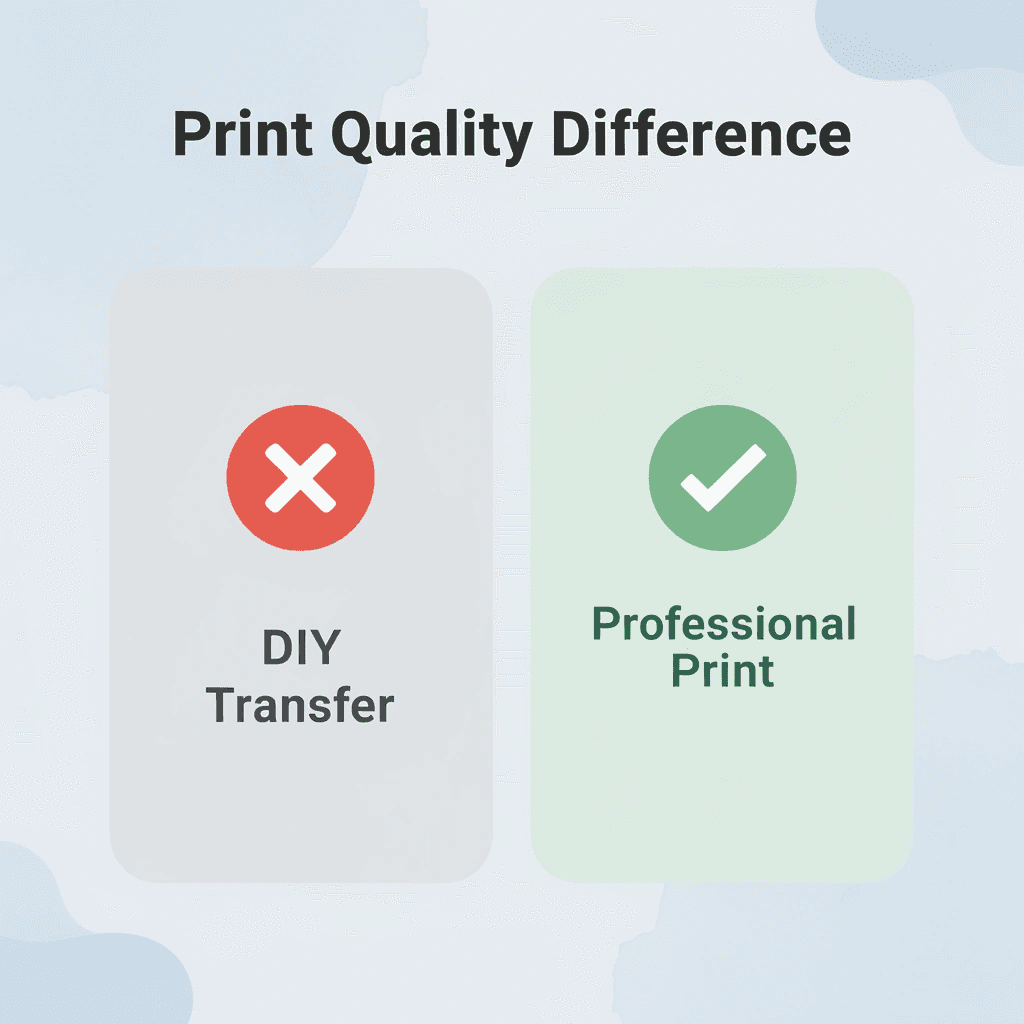
How do professional printing services compare to DIY methods?
Home methods give you control but require time, equipment, and problem-solving. Platforms like ooShirts handle production while you focus on design. Upload your photo, adjust placement on the shirt mockup, and order a sample to test quality before larger orders.
This removes the risk of wasted materials and failed prints, since experts manage file preparation, color matching, and application using commercial-grade equipment. The cost difference between DIY and professional printing narrows quickly once you factor in ruined shirts, replacement materials, and hours spent perfecting technique.
What should you consider when choosing between DIY and professional printing?
The real decision point is whether you value time or control more.
Related Reading
- 4imprint Competitors
- Printify Alternatives
- Redbubble Alternatives
- Rush Order Tees Vs Custom Ink
- Zazzle Alternatives
- Vistaprint Vs Custom Ink
- Vistaprint Alternatives
- Redbubble Alternatives
- Bonfire Competitors
- 4imprint Vs Vistaprint
Why Choose ooShirts for Custom Photo T-Shirt Printing?
When you upload a family photo or company logo, you’re trusting someone with color accuracy, fabric compatibility, and placement precision. ooShirts removes that risk by combining expert design review with guaranteed quality, so your image looks sharp on the first try instead of becoming an expensive mistake.

🎯 Key Point: ooShirts eliminates the guesswork in custom photo printing by providing professional design review before production begins, ensuring your precious memories and brand assets are reproduced with perfect accuracy.
“Expert design review combined with guaranteed quality ensures your image looks sharp on the first try instead of becoming an expensive mistake.” — ooShirts Quality Promise

💡 Pro Tip: Unlike generic printing services that process orders automatically, ooShirts manually reviews each photo upload for optimal print quality, catching potential issues with resolution, color balance, and fabric compatibility before your shirt goes into production.
Quality That Survives Real Life
The difference between a photo that fades after three washes and one that stays vibrant for years comes down to ink chemistry and how firmly the ink is pressed onto the fabric. ooShirts uses commercial-grade direct-to-garment technology that bonds pigment deep into fabric fibers, creating prints that withstand repeated laundering without cracking or peeling. According to Grand View Research, the custom t-shirt printing market reached USD 5.16 billion in 2024, driven by consumer demand for durable, personalized apparel that performs like retail-quality clothing.
Design Review That Catches Problems Early
Most failed photo prints stem from sizing errors caught too late: a 6-inch image looks tiny on an adult XL shirt, or high-resolution files stretch until faces blur. ooShirts assigns design specialists to check every uploaded photo against standard garment dimensions before production starts, flagging images that will print too small, too large, or off-center. This pre-flight review eliminates the guesswork that turns DIY projects into wasted materials and redone orders. We position your photo three inches below the collar for full-front designs or scale it proportionally for chest placement, ensuring balance across youth and adult sizes without requiring you to understand garment templates.
Dark Shirt Printing Without Compromise
The belief that photos fail on black or navy shirts persists because most home methods skip the white underbase layer that prevents fabric color from distorting the image. Our ooShirts process applies a precise white foundation beneath every photo printed on dark garments, preserving true color representation so reds stay red, and skin tones look natural rather than muddy. The specialized equipment and material knowledge required for this process explain why professional services deliver results that home printers cannot replicate.
Support That Removes Decision Paralysis
Unclear file requirements and fabric choices create hesitation that stalls projects for days. ooShirts offers live chat with printing specialists seven days a week, answering questions about image resolution, color profiles, and material selection in real time. Our transparent pricing includes free setup and free shipping, with a price-match guarantee, eliminating the hidden costs of local print shops. When choosing between cotton and poly-blend for detailed photos, or wondering whether your 150 DPI image will print clearly, immediate expert guidance can prevent costly mistakes and accelerate decision-making.
Start Designing Your Custom Shirts Today
Blurry photos and cracked prints result from choosing between expensive local shops and unreliable DIY methods. ooShirts delivers the technical precision that home methods cannot, using commercial-grade direct-to-garment equipment that bonds ink into fabric fibers for lasting vibrancy. When you upload your photos, expert reviewers check resolution, sizing, and placement before production, catching critical errors that transform promising designs into disappointing failures.
🎯 Key Point: Professional equipment distinguishes amateur results from commercial-quality prints that last.

The difference shows immediately. That detailed vacation photo that turns dull and grainy with iron-on transfers appears crisp and colorful on a professionally printed shirt, maintaining quality through repeated washing. Skin tones stay natural, fine details remain sharp, and colors don’t fade after a month of wear. Founded in 2007 and with over 10 million shirts printed, ooShirts delivers consistent, transparent pricing that includes free shipping, free design setup, and a price match guarantee.
“With over 10 million shirts printed since 2007, ooShirts has perfected the balance between quality and affordability.” — Built In SF
⚠️ Warning: Home printing methods cannot match the color accuracy and durability of commercial-grade equipment.
Start your order at ooShirts.com. Upload your pictures, use the simple design tools, and receive an expert review with your order. You’ll see a professional preview instantly with no experience required and no credit card needed to begin. Every order includes guaranteed fast delivery and a complete redo promise if anything falls short.
✅ Best Practice: Take advantage of the free design review to ensure your photos will print with maximum quality before production begins.
Leave a Reply