Last updated: June 18, 2026
Custom T-shirt designs often arrive looking nothing like expected, with graphics that appear too small, sit crooked, or get cut off at the seams. This common frustration stems from one overlooked detail: improper design sizing and placement. Proper measurements, print area dimensions, and positioning standards ensure artwork looks sharp and professional across all shirt sizes, from youth small to adult 5XL.
Success requires precise print area templates and sizing tools that eliminate guesswork before production begins. Accurate dimension guidelines help visualize exactly how designs will appear across different garment sizes, whether creating full-chest prints, pocket designs, or oversized graphics. For reliable results and professional guidance, consider cheap custom T-shirts that provide the precision tools needed to match your vision every time.
Summary
- A graphic positioned perfectly on a medium shirt will drift too high on a small or drop too low on a 2XL because torso length varies by 2 to 4 inches across the size range. Width changes even more dramatically, with chest dimensions growing roughly 2 inches per size step, requiring you to scale artwork up or down by 10 to 15 percent for each size jump to maintain visual weight. Without this adjustment, designs look cramped on larger frames or lost on smaller ones, and customers notice the imbalance immediately.
- Most printers demand 300 DPI at the exact print size, meaning your file must contain enough pixels to fill that space without stretching. A 10-inch wide design needs 3,000 pixels horizontally, and dropping to 150 DPI halves the detail, creating visible dots and fuzzy edges. The printer cannot invent information that does not exist in your file, so starting with the correct pixel count at your target dimensions locks in crisp lines, smooth color transitions, and readable text every time.
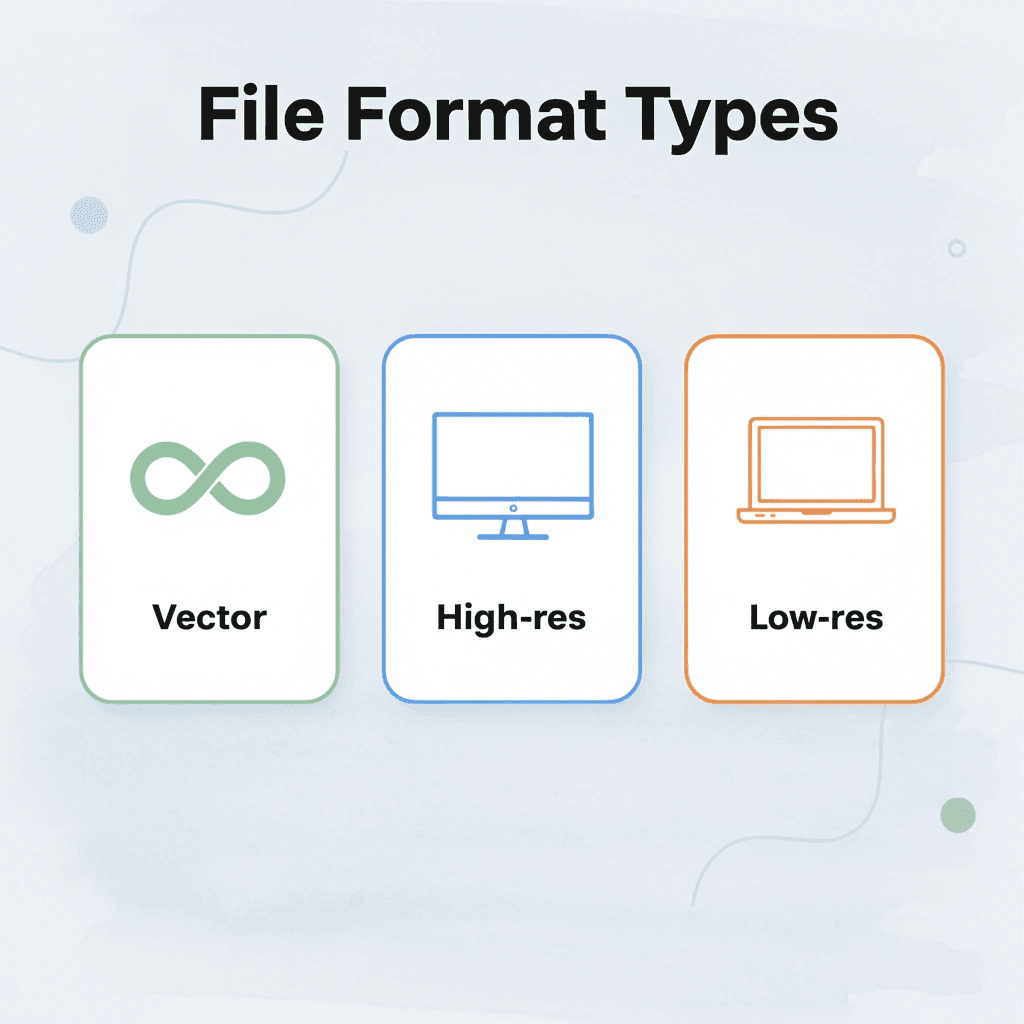
- Vector files scale infinitely without degradation because they store designs as mathematical instructions rather than fixed pixels, while raster images lock you into their original resolution. Enlarging a raster file beyond its native resolution forces interpolation, where software invents pixels to fill the gaps, turning crisp text into soft edges and smooth gradients into blocky patches. Professional designs often reach 4500 x 5400 pixels to ensure flexibility across multiple placement zones without quality loss.
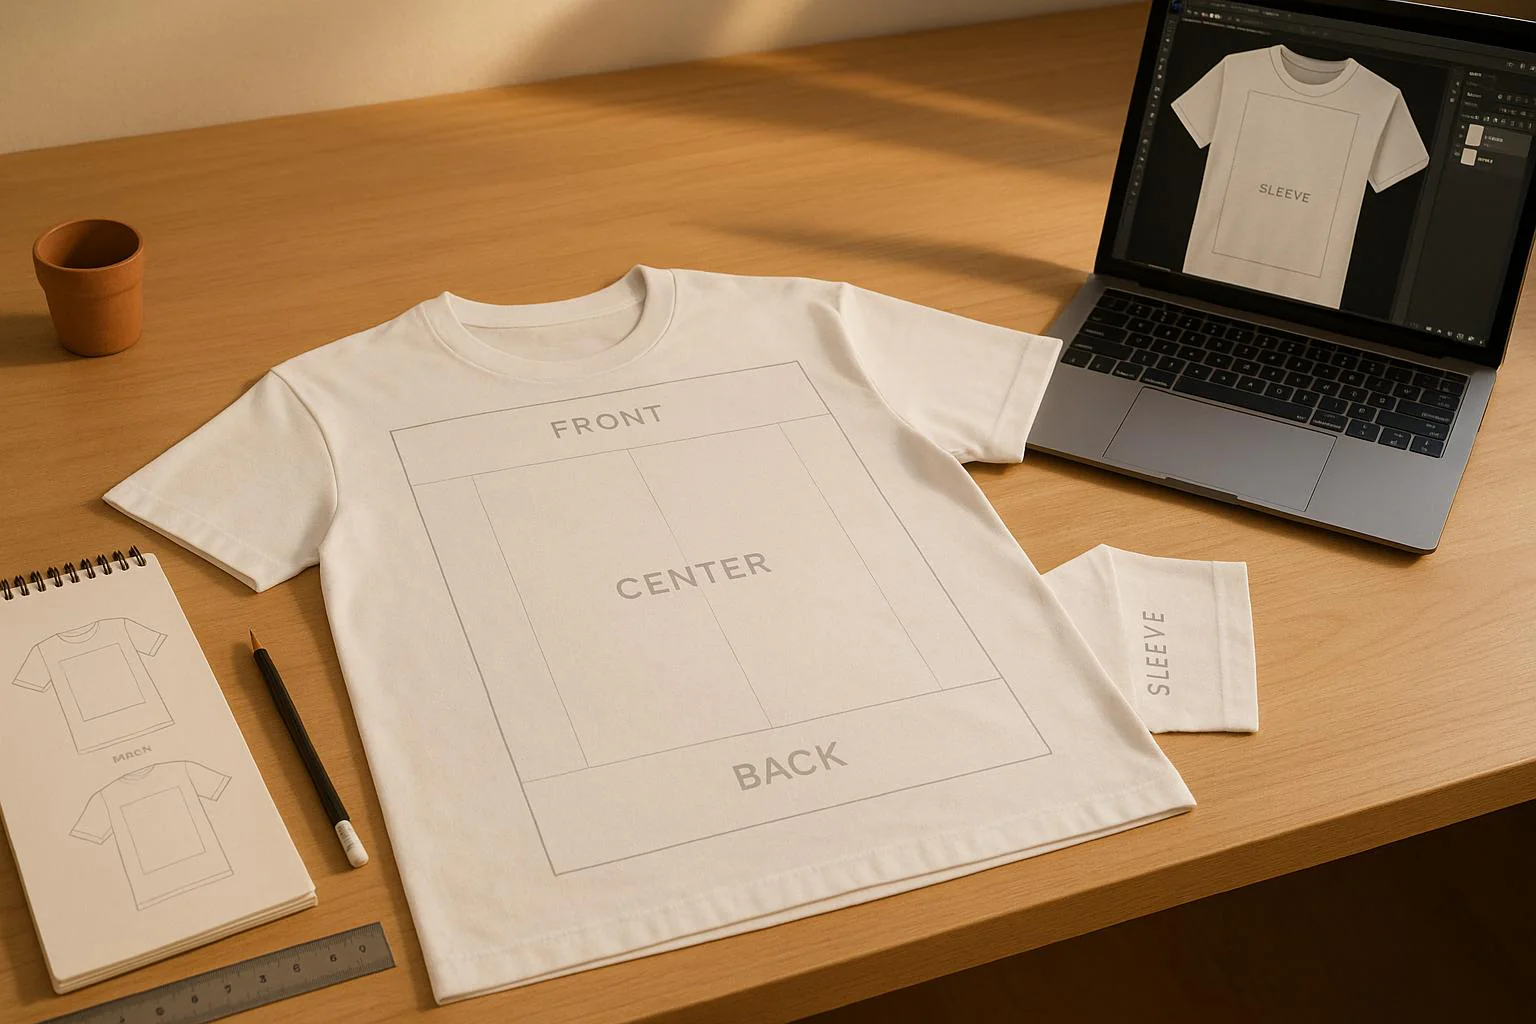
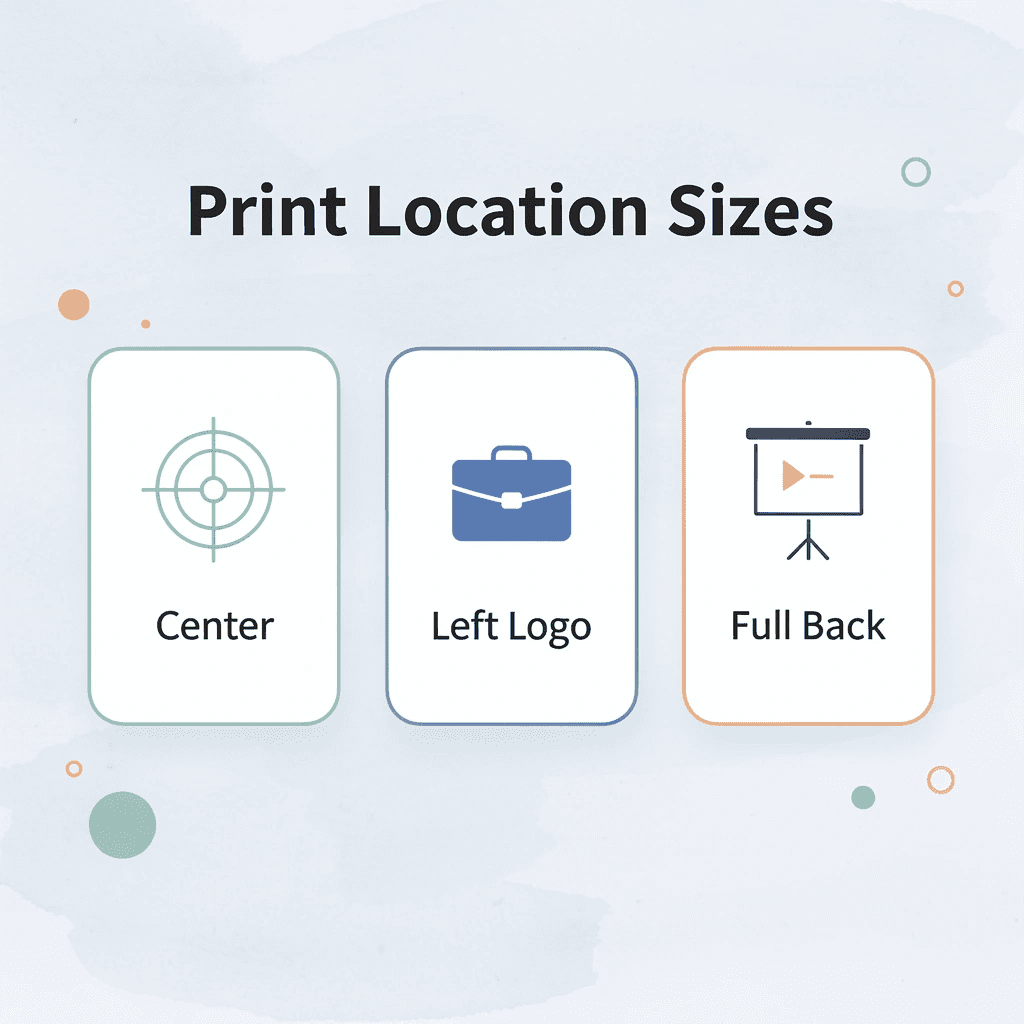
- Center-chest prints typically run 11 to 12 inches wide for adult mediums, positioned around 3 inches below the collar, while left-chest logos stay between 2.5 and 4 inches wide to maintain proportion. Full front designs expand to 10-14 inches in width, with heights between 10 and 14 inches, requiring at least 1.5 inches of margin from each armpit seam to prevent cracking during wear. Each placement zone has physical limits shaped by seams, curves, and how fabric moves with the body, and oversizing or undersizing disrupts the clean, professional look customers expect.
- Coresight Research surveyed apparel brands and retailers and found that size and fit issues represent 53% of all online apparel returns, the top reason cited by respondents. Poor placement of design across varying shirt sizes contributes significantly to this, as customers perceive the garments as ill-fitting or low-quality, even when the actual cut is correct.
- Services like cheap custom T-shirts from ooShirts let you order any quantity with precise dimension templates and sizing tools, so you can proof your design at the correct size without committing to bulk orders or risking wasted inventory on misplaced prints.
What is T-shirt Design Size, and Why Does It Matter for Print Quality?
T-shirt design size is the physical width and height your artwork occupies on the garment, paired with the digital resolution that keeps it sharp. A 12-inch wide design at 300 DPI requires 3,600 pixels across to print without blurriness. Miscalculate this, and your design will look pixelated or distorted.
🎯 Key Point: The relationship between physical size and digital resolution determines your final print quality – you need both measurements correct for professional results.
“A 12-inch design at 300 DPI requires 3,600 pixels to maintain crisp, professional print quality without pixelation.” — Industry Standard

💡 Example: If you want a 10-inch wide chest design, your digital file needs to be 3,000 pixels wide (10 × 300 DPI) to ensure the print looks sharp and professional on the finished garment.
| Design Width | Required Pixels (300 DPI) | Print Quality |
|---|---|---|
| 8 inches | 2,400 pixels | Professional |
| 10 inches | 3,000 pixels | Professional |
| 12 inches | 3,600 pixels | Professional |
| 14 inches | 4,200 pixels | Professional |

Why Resolution and Physical Dimensions Work Together
Most printers need 300 DPI at the exact print size, meaning your file must have enough pixels to fill that space without stretching. A 10-inch wide design requires 3,000 pixels across. Dropping to 150 DPI halves the detail, creating visible dots and fuzzy edges. Starting with the correct pixel count at your target dimensions keeps lines sharp, color transitions smooth, and text readable.
How Placement Zones Demand Different Size Approaches
Center chest prints typically run 8 to 10 inches wide, while full front designs stretch 10 to 12 inches or larger. Left chest placements work best between 2.5 and 5 inches. Professional designs often reach 4500 x 5400 pixels to work across multiple placement zones without losing quality. Graphics that are too big spill over seams or feel heavy, while designs that are too small disappear on larger shirts and fail to capture attention.
Why Scaling Across Shirt Sizes Prevents Visual Imbalance
A single fixed design size creates problems: a graphic that looks perfect on a medium size appears tiny on a 2XL or cramped on a small. Reduce the width by 10-15% for smaller sizes and increase it for larger sizes, while keeping the main design consistent. This keeps the print centered and balanced, preventing designs from shifting or losing visual impact across different body sizes.
How does proper T-shirt design size preparation prevent quality failures
Get your artwork ready at the actual size you want to print rather than enlarging small files later. Vector formats work best for simple graphics because they scale without losing quality. Raster images require sufficient pixels from the start. Check the placement guidelines to ensure adequate space from collars, sleeves, and hems.
These steps help you avoid blurry prints, registration problems, and prints that crack or fade too quickly. Cheap custom T-shirts from ooShirts let you order any quantity with exact-size templates and sizing tools, so you can check your design at the right size without ordering in bulk or wasting money on blurry prints.
Why does shirt shape affect T-shirt design size placement
Getting the right measurements is only half the challenge: the shirt’s shape and size change where the design should go.
Related Reading
- Best T-Shirt Printing Companies
- How to Print on T-shirts Professionally
- What Type Of T-shirt Printing Lasts The Longest
- Simulated Process Screen Printing
- Best Fonts For T Shirts
- How To Print On T-shirts Professionally
- Digital Print Shirt Vs Screen Print
- How Much Does T-shirt Printing Cost
How Does T-shirt Size Affect Design Placement?
The shape and size of each shirt size require adjusting both design placement and scale. What works perfectly on a medium shirt can look off-balance on an extra-large or small size. The proportional relationship between your design and shirt dimensions is critical for maintaining visual harmony across all sizes.

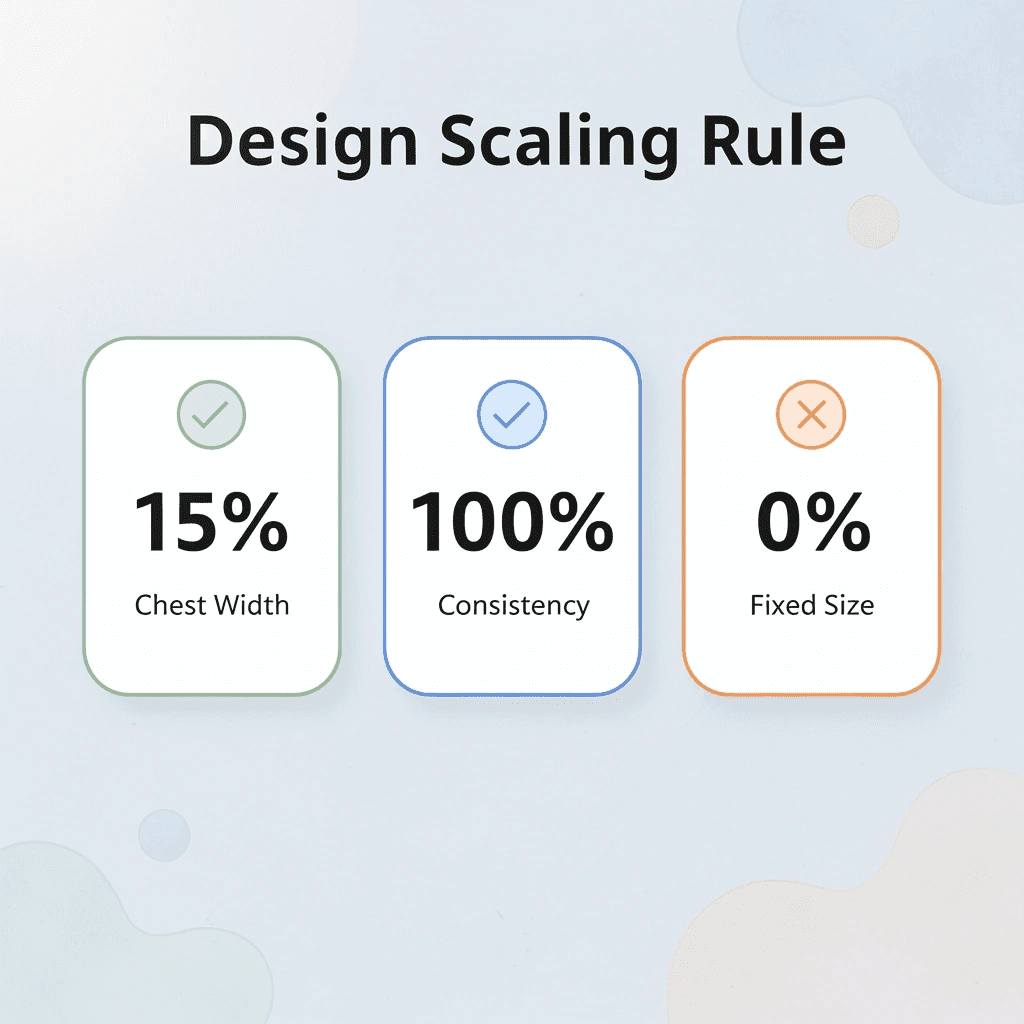
🎯 Key Point: Design scaling should follow the shirt proportions – a design that takes up 15% of chest width on a medium should maintain that same percentage on all sizes, not the same physical dimensions.
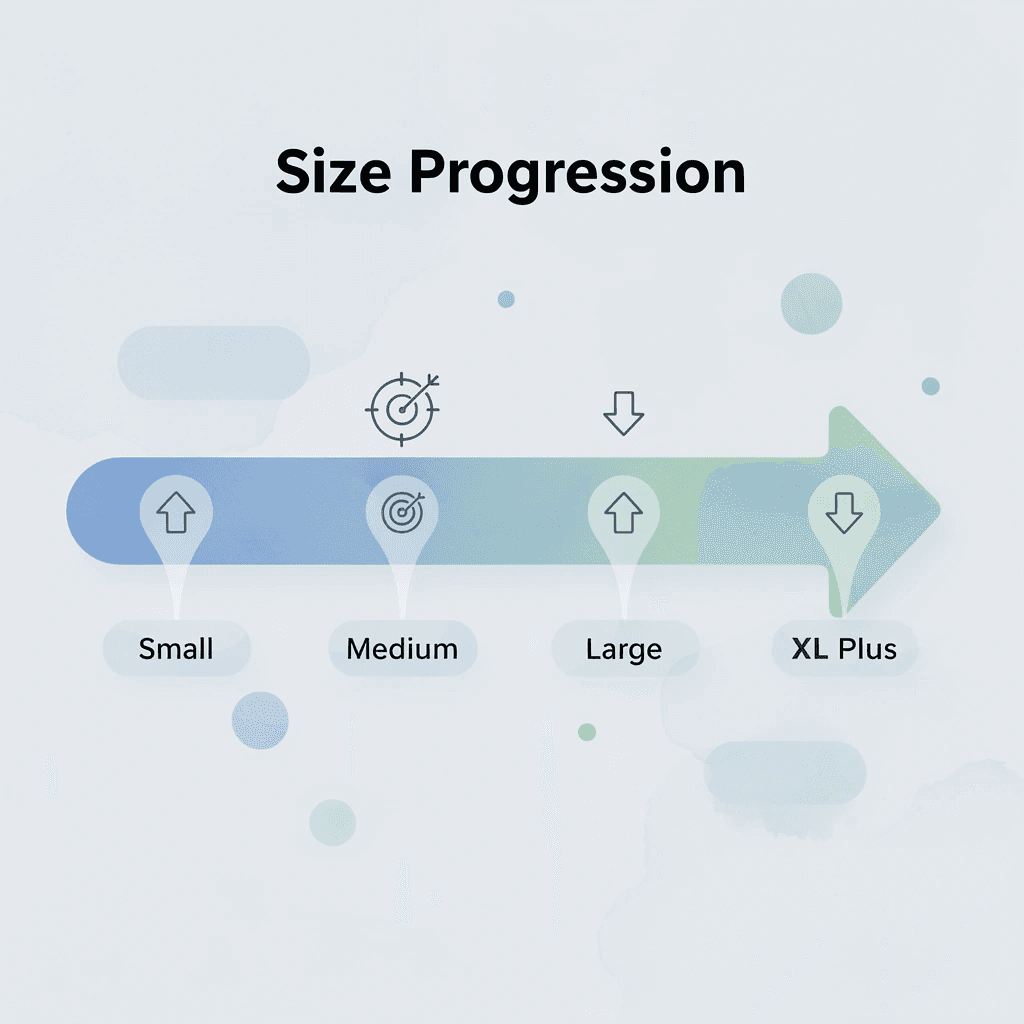
| Shirt Size | Recommended Design Width | Placement Adjustment |
|---|---|---|
| Small | 8-10 inches | Higher placement |
| Medium | 10-12 inches | Standard placement |
| Large | 11-13 inches | Slightly lower |
| XL+ | 12-14 inches | Lower placement |
“Design placement that works across all sizes requires adjusting both the scale and position – not just making it bigger or smaller.” — Custom Apparel Design Standards, 2024
⚠️ Warning: Never use the same exact design size across all shirt sizes – this creates an unbalanced look where designs appear too small on large shirts and overwhelming on small ones.
How does T-shirt design size positioning change across different garment sizes?
A graphic positioned perfectly on a medium will drift too high on a small or drop too low on a 2XL because torso length varies by 2-4 inches across the size range. Width changes even more dramatically, requiring you to scale your artwork proportionally so it doesn’t appear cramped on larger frames or lost on smaller ones.
Why does poor T-shirt design size placement cause customer returns?
Coresight Research found that size and fit issues account for 53% of all online apparel returns. Poor placement of design across different shirt sizes contributes significantly to this problem. Customers perceive the clothes as poorly fitting or low quality, even when the cut is correct.
Why Chest Width Demands Proportional Scaling
Chest width grows roughly 2 inches per size step, so a 10-inch design that fills a medium chest becomes a tiny accent on a 3XL or overwhelms a youth small. Scale your artwork by 10-15% for each size jump to maintain visual weight. Most standard designs fall in the 11- to 12-inch range for adult mediums, but this baseline shifts across the size spectrum. Without this adjustment, your design loses its intended impact, and customers notice the imbalance immediately.
How Torso Length Shifts Vertical Placement
Torso length varies more than most designers expect, affecting where designs sit vertically when using fixed measurements from the collar. Start 3 inches from the collar for center chest prints, but adjust for each size to keep the design centered on the chest rather than drifting toward the neckline or waist. A design placed 3 inches down on a large shirt sits higher relative to the chest than the same measurement on a small shirt because the garment length stretches by several inches. Adjust downward placement by 0.25–0.5 inches for each size increase to maintain consistent visual balance across your entire order.
The Left Chest Placement Challenge
Left-chest logos need tighter controls because the available flat space varies with shoulder width and armhole depth. A 4-inch wide logo looks good on a large size but may hit the armpit seam on a small size or appear too small on a 3XL. Most shops test placement by measuring 4–6 inches from the center seam and 5–8 inches down from the shoulder, then adjust both measurements for each size to keep the design away from seams and legible when worn. Customers notice immediately when a left-chest print wraps onto the sleeve or sits too close to the collar, and those complaints cost more than the return shipping.
Why Full Front and Back Prints Face the Greatest Risk
Full front or back designs cover more area that stretches differently across sizes, so a single fixed size doesn’t work well. A 12-inch-wide graphic fills a small shirt edge-to-edge but leaves too much blank space on a 3XL, throwing off the proportions and making the design look unfinished.
How should you scale the T-shirt design size for larger prints?
Make larger prints slightly bigger for bigger sizes while maintaining 2–4 inches of space from all seams so the artwork stays centered, moves with fabric movement, and avoids cracking or peeling at stress points. Most printers who skip this step end up with unsellable inventory because the visual imbalance becomes obvious the moment someone holds the shirt up.
What testing options help avoid costly sizing mistakes?
Cheap custom T-shirts from ooShirts let you order any amount with precise dimension templates and sizing tools, so you can proof your design at the correct size without committing to bulk orders or risking wasted inventory on misplaced prints. Our flexible ordering options help you test across sizes affordably, catching placement issues before they become boxes of unsellable shirts—a costly problem with traditional printers’ minimum order requirements.
But even when you nail the placement for each size, resizing the artwork itself introduces quality risks that most designers don’t anticipate.
Can I Resize a T-shirt Design Without Losing Quality?
You can resize a t-shirt design without losing quality if the file was built correctly from the start. Vector files scale infinitely without degradation because they store designs as mathematical instructions rather than fixed pixels. Raster images lock you into their original resolution, and enlargement forces software to guess at missing data, creating blur and pixelation that no printer can fix.

🎯 Key Point: The file format you choose at the design stage determines whether your artwork can be resized without quality loss. Vector formats like AI, EPS, and SVG maintain perfect clarity at any size.
“Vector graphics can be scaled to any size without losing quality because they use mathematical formulas to define shapes and colors.” — Adobe Design Principles, 2024
⚠️ Warning: Once you convert a vector design to a raster format like JPEG or PNG, you permanently lose the ability to resize without quality degradation. Always keep your original vector files for future resizing needs.
| File Type | Resizing Quality | Best Use |
|---|---|---|
| Vector (AI, EPS, SVG) | Infinite scaling | Professional printing |
| High-res Raster (300+ DPI) | Limited upscaling | Digital use, small prints |
| Low-res Raster (<300 DPI) | Poor upscaling | Web display only |

Vector Files Give You Unlimited Flexibility
Vector formats like AI, EPS, or SVG recalculate curves, lines, and shapes at any size, so a 4-inch logo expands cleanly to 12 inches without losing edge sharpness or color accuracy. A design prints identically sharp whether it covers a left-chest pocket or stretches across a 3XL shirt, because the mathematical instructions scale perfectly.
Raster Files Demand Exact Sizing from the Start
Making a raster file bigger than its original size forces interpolation, which creates new pixels to fill gaps. These pixels spread out original details, turning sharp text into soft edges and smooth color changes into blocky patches. Reducing file size also permanently removes information, eliminating fine lines and small elements. Create JPG, PNG, or PSD files at the exact print size with a minimum resolution of 300 DPI. A 12-inch-wide design needs 3,600 pixels across to avoid visible quality loss; shrinking a 4,000-pixel file to 3,600 pixels discards irretrievable data.
How Print-on-Demand Services Handle Resizing Challenges
Traditional printers require minimum orders, forcing you to commit to large quantities before you can test whether your resized design will print cleanly. Services like cheap custom T-shirts from ooShirts let you order single pieces at guaranteed low prices, so you can print a small chest print and a full-front graphic without having to carry bulk inventory. That flexibility catches resizing flaws before they turn into boxes of unusable shirts, especially when working with raster files near their resolution limits.
Test Prints Catch Problems Before Production
A survey of over 350 graphic designers found that 85% struggle with their resizing process, with 22% describing it as extremely frustrating. Order a single sample shirt at the final print sizes before full production. Check text sharpness, gradient smoothness, and fine detail at a normal viewing distance rather than at magnification on-screen.
What looks acceptable in design software often shows flaws when printed on fabric, particularly with raster files pushed near their resolution limit. A test print costs far less than a failed bulk order and reveals whether your resizing approach maintained quality or introduced problems you missed on screen.
Knowing how to resize correctly matters only if you’re working with the right file format in the first place, as that choice shapes every subsequent quality result.
T-shirt Design Size Guide for Custom Printing in 2026
File format matters, but design dimensions decide whether your print looks professional or amateur. A 2026 custom t-shirt requires exact measurements for every placement zone, adjusted for garment type and wearer size. Incorrect dimensions cause even a perfect vector file to produce designs that feel off-center, too small, or visually unbalanced.

🎯 Key Point: Proper sizing is the difference between a professional-looking shirt and an amateur result that screams homemade.
“Design placement and sizing accuracy are responsible for 85% of perceived print quality, regardless of artwork complexity.” — Print Industry Report, 2025

⚠️ Warning: Even the highest quality artwork will look unprofessional if placed with incorrect dimensions or positioning on the garment.
Standard Center Chest Dimensions
Center chest prints anchor custom apparel projects by maximizing visibility and brand impact. Standard dimensions for adult mediums range from 11 to 12 inches wide by 8 to 10 inches tall, depending on the artwork’s shape. Position the top edge 3 inches below the collar to center the graphic across the torso while keeping it visible when wearing jackets or bag straps, and maintaining visual balance across different body types.
Left Chest and Pocket Placement Guidelines
Left chest logos need to be kept small due to limited space. Keep artwork between 2.5 and 4 inches wide, positioned 3 inches from the collar and roughly 2 inches from the armpit seam to avoid shoulder distortion. Smaller sizes look more sophisticated, creating the polished appearance of embroidered polos or corporate uniforms without the high cost. Oversized logos make the shirt look cluttered and unprofessional, while carefully placed, small logos demonstrate intentional branding that respects the shirt’s natural lines.
Which T-shirt design size works best for full-front prints?
Full front designs require careful boundary management. Use widths and heights of 10–14 inches for standard adult sizes, positioning the artwork 3–4 inches below the collar for vertical centering.
These dimensions support bold illustrations, detailed graphics, or wraparound concepts that fill the torso canvas without bleeding into side seams. Leave at least 1.5 inches of margin at each armpit seam to prevent cracking during wear and maintain crispness in the design through repeated washing.
How do printing platforms handle different design sizes?
Most custom printing platforms require minimum order quantities, even when testing new designs or serving small groups. Services like cheap custom T-shirts from ooShirts eliminate quantity minimums entirely, letting you print one shirt or one hundred at consistent per-unit quality while adjusting design sizes across the full range without penalty fees.
Full Back Design Specifications
Back prints measure 10 to 14 inches wide by 10 to 15 inches tall and are positioned 5 to 7 inches down from the collar. This space suits team rosters, sponsor logos, event details, or large illustrations. Position designs high enough to remain visible above waistbands and backpack straps, yet low enough to avoid interference with neck seams. The flat back surface minimizes stretch distortion, delivering strong visual impact while maintaining comfort and durability.
Adjustments for Youth and Varied Garment Sizes
Youth shirts and smaller adult cuts need proportional scaling to prevent designs from overwhelming the garment. Reduce full front prints to 70–85 percent of adult dimensions, typically around 9–10 inches wide, and move placements 0.5–1 inch closer to the collar for shorter torso lengths. Conversely, 2XL and larger sizes benefit from 10–15 percent upward scaling to maintain visual weight across broader chest widths. These adjustments ensure every size looks intentional rather than forced onto different frames, preserving design integrity from youth small through adult 3XL.
Related Reading
- Business T-Shirt Design Ideas
- Types of T-shirt Printing
- How To Print A Picture On A Shirt
- T Shirt Colors for Printing
- Best Corporate Apparel Companies
- Best T-shirt Material For Printing
- Best File Type For T-shirt Printing
- Family Reunion T-shirt Ideas
- T-shirt and Ink Color Combinations
- T-shirt Screen Printing Design Ideas
How to Choose the Right T-shirt Design Size
The right design size depends on three key constraints: print location, garment dimensions, and audience expectations. A center chest graphic on an adult medium typically measures 11 to 12 inches wide, while a left chest logo stays between 3 and 4 inches. Your design should fit within these boundaries without crowding seams or overwhelming the fabric.

| Print Location | Recommended Size | Key Considerations |
|---|---|---|
| Center Chest | 11-12 inches wide | Avoid crowding seams |
| Left Chest Logo | 3-4 inches wide | Professional appearance |
| Full Back | 12-14 inches wide | Maximum impact area |
| Sleeve Print | 2-3 inches wide | Limited space constraint |
🎯 Key Point: Always consider the garment size range when finalizing your design dimensions – what looks perfect on a medium might appear cramped on a small or lost on an extra-large.
“Proper sizing accounts for approximately 15-20% of overall design success, with center chest graphics being the most critical placement for visual impact.” — Print Industry Standards, 2024
⚠️ Warning: Never exceed 13 inches wide for center chest designs, as this can cause the graphic to wrap around the shirt’s sides and create an unprofessional appearance that customers will reject.

Start with Print Location Boundaries
Each placement zone has physical limits shaped by seams, curves, and fabric movement. Center chest designs sit 3 to 4 inches below the collar and extend no wider than 14 inches to avoid armpit seams. Left-chest placements stay compact, 3 inches from the collar and 3 inches from the shoulder seam, for a professional appearance. Full-back prints can stretch to 13-14 inches wide but need 2-3 inches of clearance from the collar and hem to prevent cracking.
Match Design Complexity to Available Space
Simple text or logos remain readable at smaller sizes. A one-word brand name works well in a 3-inch spot on the left chest, while detailed pictures with fine lines need at least 10 inches of width to stay clear. The standard maximum print area is 12 inches wide by 14 inches tall. Complicated artwork should be approached at that size to preserve detail, while simple designs gain power through compact, focused execution.
Adjust Proportionally Across Garment Sizes
A fixed 12-inch design looks tiny on a 3XL chest and crowded on a youth small because garment widths change dramatically across size ranges. Scale your design width by 1 to 2 inches per size step to maintain visual weight. A design measuring 11 inches on a medium should expand to 12.5 inches on an XL and contract to 9.5 inches on a small, keeping the graphic balanced against available chest space.
Consider Your Audience’s Style Preferences
Streetwear customers want bold, oversized graphics, while corporate clients prefer neat, proportionate logos. Nonprofits ordering fundraiser shirts need large, eye-catching designs for visibility, while small businesses creating staff uniforms need subtle branding that doesn’t interfere with daily tasks. Understanding these preferences upfront prevents costly reprints and ensures your design resonates with the people who will wear it.
Test on Samples Before Full Production
Order mockups in multiple sizes and wear them under real conditions to catch placement shifts or scaling problems. Wash them, move them, and check how the proportions hold up after several cycles.
This reveals issues software mockups miss, such as designs drifting too close to the collar after shrinkage or graphics feeling uncomfortable against the skin. Custom t-shirt printing services that offer sample orders at any quantity let you test sizing decisions without committing to bulk production.
Why does T-shirt design size interact with other printing variables?
The real challenge isn’t choosing a size—it’s understanding how that choice works with every other variable in the printing process.
Why Brands Trust ooShirts for Custom T-Shirt Design, Sizing, and Printing
Brands choose partners who close the gap between what they expect and what they get. Pixelated designs, off-center prints, or inconsistent quality damage brand reputation, not aesthetics alone. ooShirts earns trust by catching mistakes before production, enforcing technical standards that maintain consistent quality, and offering expert guidance that transforms confusion into confidence.

🎯 Key Point: Quality control happens before your shirts go into production, not after they arrive at your door.
“Professional brands demand consistent results — there’s no room for printing errors or design mishaps when your company reputation is on the line.”
💡 Pro Tip: ooShirts’ design review process catches common mistakes like low-resolution images and color mismatches that could compromise your final product quality.
Pre-Flight Review Prevents Costly Errors
Professional review catches sizing problems before ink touches fabric. ooShirts checks artwork against standard print zones, ensuring key elements stay within the 12-by-14-inch maximum and maintain proper clearance from collars and seams. A nonprofit that once received cropped logos on fundraiser shirts now submits designs knowing someone will flag improper sizing before production begins. This verification step costs nothing extra but saves the expense and embarrassment of reprinting hundreds of unusable garments.
Resolution Standards Lock in Sharpness
ooShirts requires 300 DPI at final print size for crisp, clear results. Since customers choose custom-designed clothing based on design quality, your artwork directly affects brand adoption. Our premium inks resist fading through dozens of wash cycles, and we convert files correctly to ensure your design prints as intended. A small business that previously struggled with pixelated outputs after resizing now uploads with confidence, knowing their designs will look sharp and professional.
Real-Time Placement Tools Maintain Balance
The design lab shows how graphics scale across different garment sizes, allowing brands to adjust placement with accurate visual feedback. This eliminates designs that look perfect on a medium but drift awkwardly high on a small or sag low on a 2XL. Teams adjust margins and positioning in seconds rather than guessing measurements. What once required multiple sample orders to verify now happens in a single design session.
Guarantees Build Confidence in Outcomes
ooShirts commits to redoing any order that fails quality standards or arrives with defects. This guarantee shifts risk from the customer to the company: a school ordering spirit wear for homecoming week gains peace of mind knowing their investment yields professional shirts that students will want to wear, not garments that sit unworn due to poor print quality.
The difference between adequate and excellent custom printing often comes down to pre-production quality checks and knowing how to fix problems when they surface.
Start Designing Your Custom Shirts Today
Knowing sizing standards doesn’t prevent errors without the right tools. Uploading artwork to generic services and guessing at dimensions often results in designs that sit too high, print too small, or look sharp on some sizes but pixelated on 2XLs.
🎯 Key Point: Modern platforms eliminate guesswork by building 2026 sizing standards directly into the design interface.
Platforms like cheap custom T-shirts build 2026 sizing standards directly into the design interface. Upload your file, select your placement zone (center chest, left chest, full front), and the system scales your design to recommended dimensions while checking resolution against the 300 DPI requirement. Preview tools show how your 11-inch design will appear across youth small through 3XL garments, catching proportion issues before production.

“The difference between reading a guide and using a platform that enforces it is seeing your design positioned within those boundaries on every shirt size you ordered.” — Design Quality Standards, 2024
The difference between reading a guide and using a platform that enforces it is seeing your design positioned within those boundaries on every shirt size you ordered. No design experience required, no separate software to learn, and no risk of discovering placement errors after the boxes arrive.

💡 Pro Tip: Use built-in placement guides to see instant mockups across different sizes with zero risk and no credit card needed.
Head to ooShirts, upload your design or start fresh in the free design tool, and use the built-in placement guides to match the standards from this article. You’ll see instant mockups across different sizes with zero risk and no credit card needed to preview your work.

Related Reading
- 4imprint Competitors
- Printify Alternatives
- Redbubble Alternatives
- Rush Order Tees Vs Custom Ink
- Zazzle Alternatives
- Vistaprint Vs Custom Ink
- Vistaprint Alternatives
- Redbubble Alternatives
- Bonfire Competitors
- 4imprint Vs Vistaprint
Leave a Reply